Settings Overview
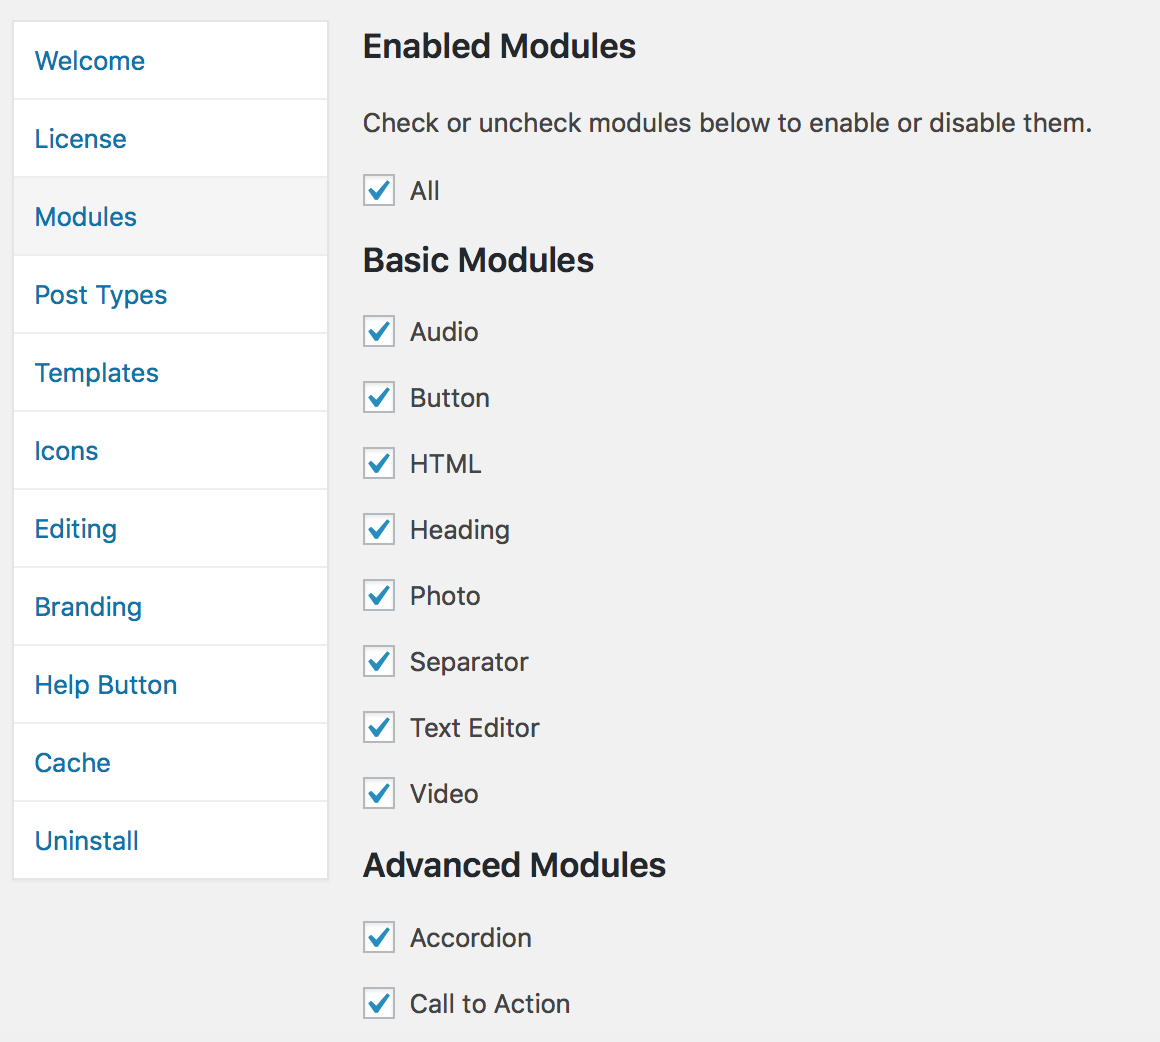
The Settings > Beaver Builder panel has a number of tabs, and we'll go through each one.
The Agency edition of the Beaver Builder Plugin allows white labeling to display any other name you choose, so there could be a different name under the Settings menu.
Welcome tab
The Welcome tab has the following information:
- First steps in using Beaver Builder
- Links to communities and support
- Summary of changes in the last release plus links to the change logs
License tab
The License tab is where you enter your premium license key to unlock updates. This tab also lists which products are included in your license.
Note: If you see a warning about not having cURL installed, see this article for more information.
Modules tab

By default, all of the built-in modules are enabled, but you can disable specific ones. For example, you might want to eliminate modules you know you'll never use. For more information, see the article on disabling modules.
Post Types tab
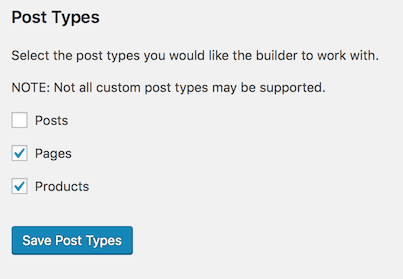
By default, Beaver Builder is only enabled for Pages. You can enable it to insert layouts into the content areas of single Posts. If you have WooCommerce plugin installed, you'll see a Products post type, and if you have other custom post types, they'll appear here also.

For more information about working with Beaver Builder to design Post content areas, see the article about how Beaver Builder works with blogs and custom post types.
- The Beaver Builder plugin applies to layouts in the content area of your page or post. Standard WordPress headers, footers, and sidebars are controlled by your theme, or by using Beaver Themer, which lets you apply Beaver Builder layouts to theme-controlled areas. See the article on what you can do with Beaver Builder for more information about the content area.
- If you have Beaver Themer installed and create a Singular layout for Posts or Pages, you will not be able to use Beaver Builder to edit the content area of the page. See the Beaver Themer primer on WordPress content and theme areas.
Templates tab
The Templates tab refers to the landing page, content, and custom layout templates that you can add to a page when you're designing your layout in Beaver Builder. See the overview of layout templates.
These layout templates can be accessed from the Templates tab in the
Content panel, or with the keyboard shortcut l (lowercase L).
The Templates tab in Settings > Beaver Builder lets you choose whether to display or hide the standard layout templates called core templates ), your custom layout templates (called user templates ), both or neither.
If you have the Agency version, you can replace built-in templates with your own set, making it easier to provide your clients with your own custom solution. See this article about replacing built-in layout templates with your own.
User access tab
You can enable or restrict access to various areas of the Beaver Builder user interface for each of the four WordPress user roles independently: Administrator, Editor, Author, or Contributor. For more information, see the article on granting user access.
Icons tab
The library of icons available to you in modules is determined by what is enabled in this setting. Beaver Builder comes with the Font Awesome, Foundation, and WordPress Dashicons icon sets.
![]()
You can also add your own icon sets through this UI, by helping you upload custom sets from Fontello or IcoMoon to your Media Library. For help and tips creating custom icon sets, see the article about icon sets.
Branding tab (Agency version only)
Agency versions only have a Branding tab, where you can change the name of the Beaver Builder plugin as it appears in the user interface, as well as the Beaver Builder theme if you're using it. See White Label (Agency) sectrion in this knowledge base for other ways to white label your websites.
Help Button tab (Agency version only)
Agency versions only have a Help button tab, where you can customize what your clients see when they click Help. See the article on customizing the Help button.
Tools tab
The Tools tab has the following sections.